Many of our new customers were facing difficulties while they were trying to connect to the FTP server using FileZilla.
This article is provided as a courtesy to our customers, to help them to successfully connect to the FTP server using FileZilla without any error. Hope you will find it helpful.
Let’s get started.
Step 1:
Login to your cPanel. Then search by typing FTP, then click on FTP Accounts.
 Step 2:
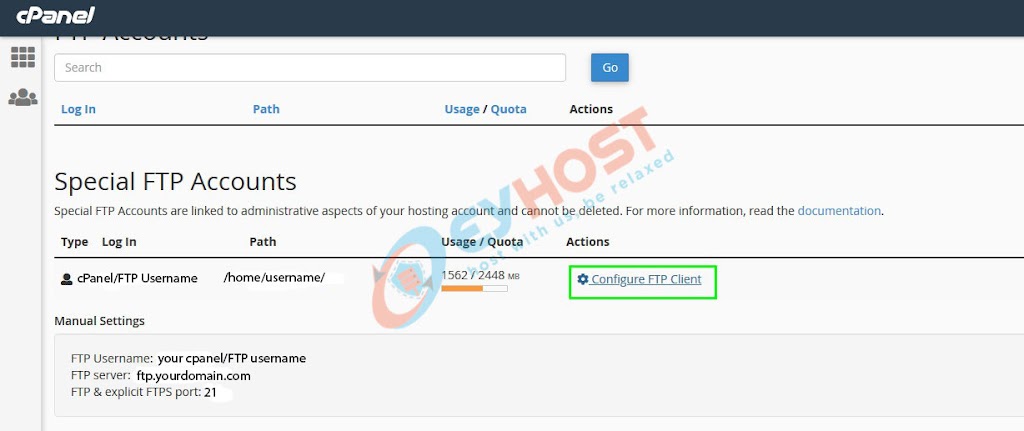
From here you will get the pre-created (default) Special FTP Accounts.
If you wish to connect to FTP with this account, click on Configure FTP Clients.
You will get all the required manual configuration settings ( FTP Username, FTP Server, FTP Port, etc.).
These details will be required to connect to the FTP server using FileZilla.
Otherwise, if you want, you create an FTP account manually as shown below :

Step 3:
Open/Launch FileZilla, then click on File then click on Site Manager

Step 4:
Click on New Site

Step 5:
You can give a name for the FTP Site, we gave the name SiteFTP.Then from the Encryption drop-down menu, click on Only use plain FTP.

Step 6:
Click on the Transfer Setting TabAnd select: Transfer Mode Default, Limit number of simultaneous connections, Maximum number of connections: 8

Step 7:
Again click on the General Tab
Input the required details from the FTP configuration provided on your cPanel earlier (Step 2) :
Host: ftp.yourdomain.com
Port: 21
Encryption: Only use plain FTP
Login Type: Normal
Username :
Password:
Then click on Connect

Now, you will be able to upload your desired files in your hosting cPanel account using FTP.
N.B: These FTP configuration details are shown as an example, you have to use your own details to connect to the FTP server via FileZilla using the same steps.