
Many of our customers were being confused about configuring Outlook Mail Client. This article is provided as a courtesy to our customers to help you configure your Windows Mail Client to work with EyHost‘s hosting solutions. Hope you will find it helpful.
Let’s get started.
Step 1 :
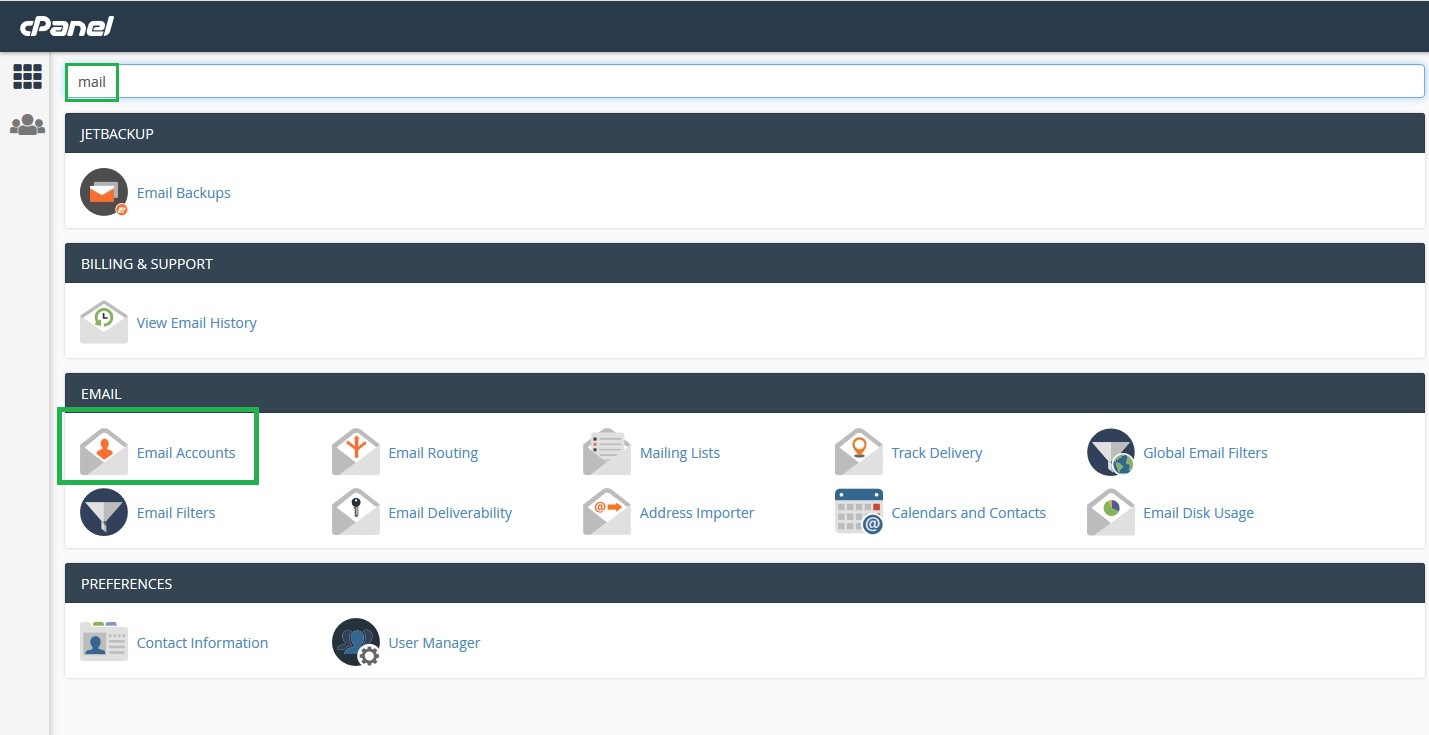
Login to your Cpanel

Type mail in the search box & click on Email Accounts
Step 3 :
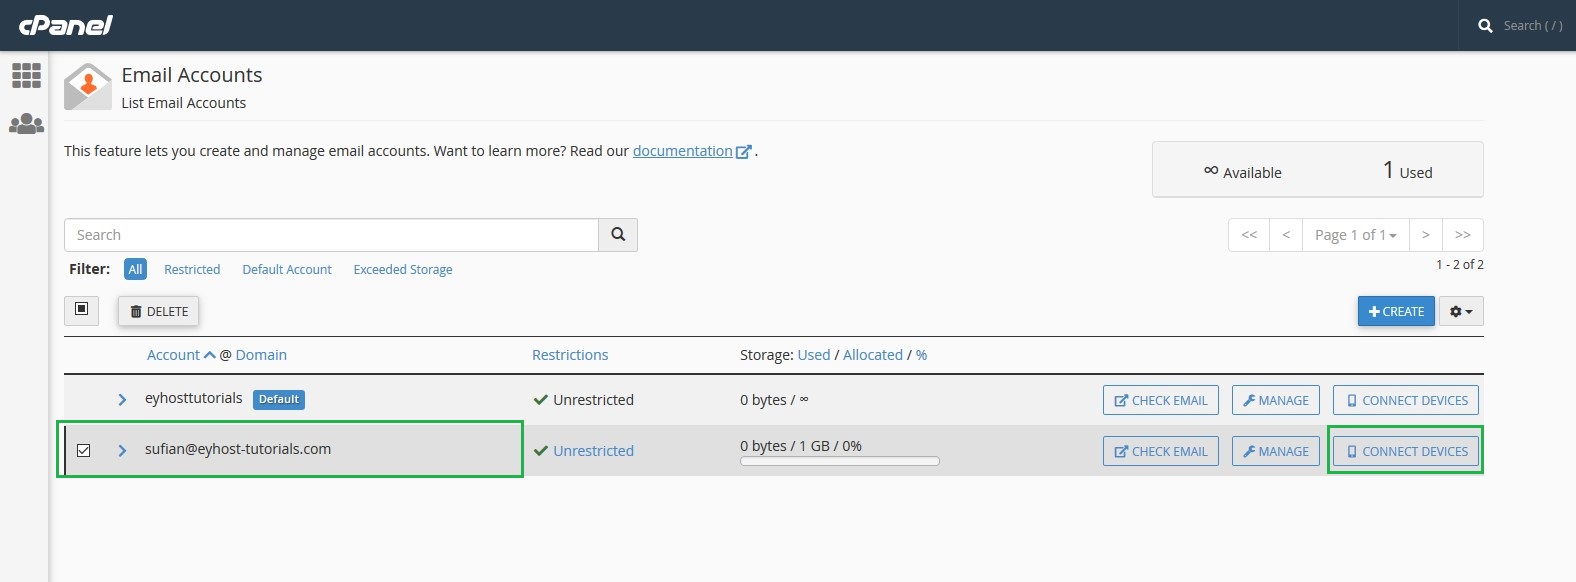
You will See previously created (existing) email accounts, you also could create a new mail account if you want. After creating the mail, click on the CONNECT DEVICES Tab to get the Configuration
Step 4 :
Navigate to the Mail Client Manual Settings and follow the
Secure SSL/TLS Settings (Recommended) Table for the Manual Mail Client Configuration Setting Details:
We highly recommend to use the Secure SSL/TLS Settings and
You also could use the Non-SSL Settings (As it is less secure so it’s NOT Recommended)

Step 5 :
As you’ve got the Manual Configuration Setting, Now Launch your Windows Mail Client from the Start Menu.

Step 6 :
Then, Click on Accounts -> Add account -> Advanced setup

Step 6 :
Click on Internet email

Step 7 :
Fill in the required input field as shown ( Highlighted in Green) using your cPanel Mail Account details… and click on Sign in

Step 8 :
Click on Done

Congratulation!
You have successfully completed the Windows Mail Client Configuration.
After following these steps still, if you are unable to configure your outlook mail client, Please do not hesitate to contact with us for further assistance.
We are Available 24x7x365 with :