Managing your WordPress hosting from your EyHost customer portal panel is designed to be simple and intuitive. Once you log in to your EyHost account, you’ll have direct access to powerful tools that let you control every aspect of your WordPress hosting—without needing to contact support for every change. Let’s get started.
Step 1:
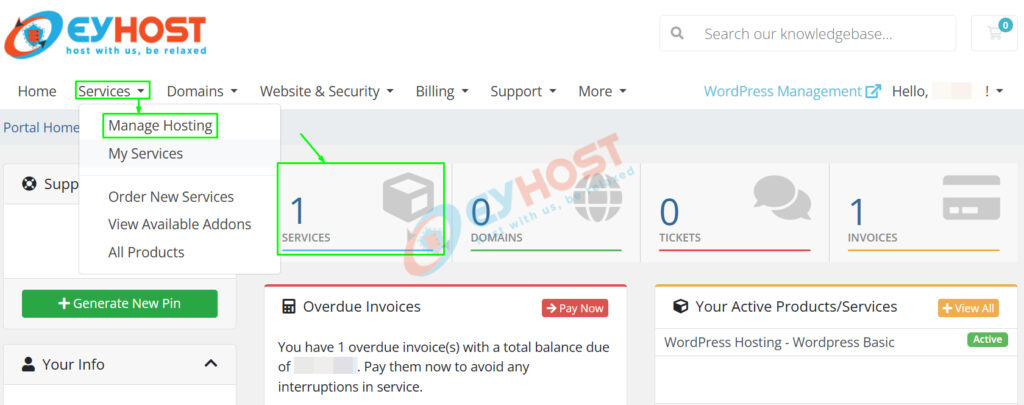
Log in to your EyHost Client Area. From your dashboard, go to Services > Manage Hosting to view and manage your active hosting package. You can also directly click on the “Services” tab to quickly access your hosting account. This section allows you to manage your WordPress site, access login credentials, and perform essential hosting tasks—all in one place.
Step 2:
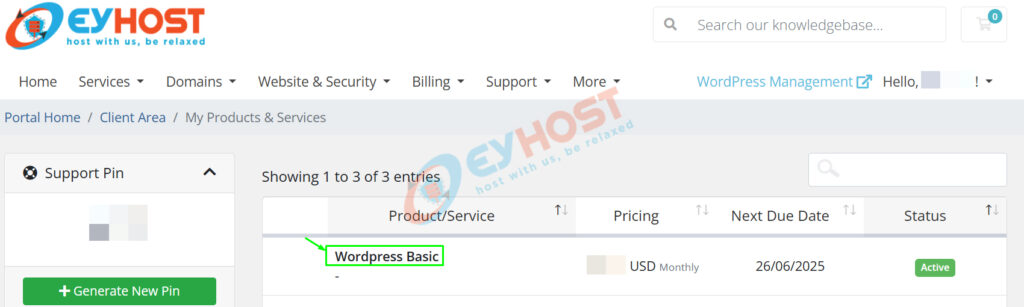
From the Manage Hosting page, click on the name of your WordPress hosting plan to access its settings and management options. For example, if you’ve purchased the WordPress Basic plan, simply click on it.
Step 3:
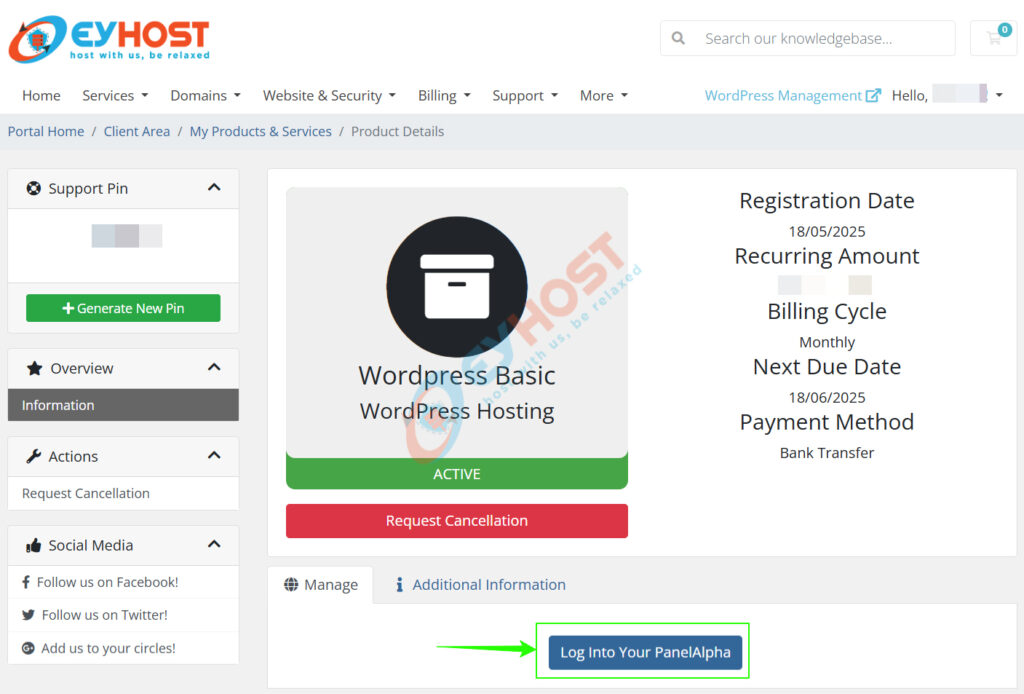
Finally, click on the “Log Into Your PanelAlpha” button to access your WordPress hosting management portal and you will be redirected to the control panel accordingly.
Step 4:
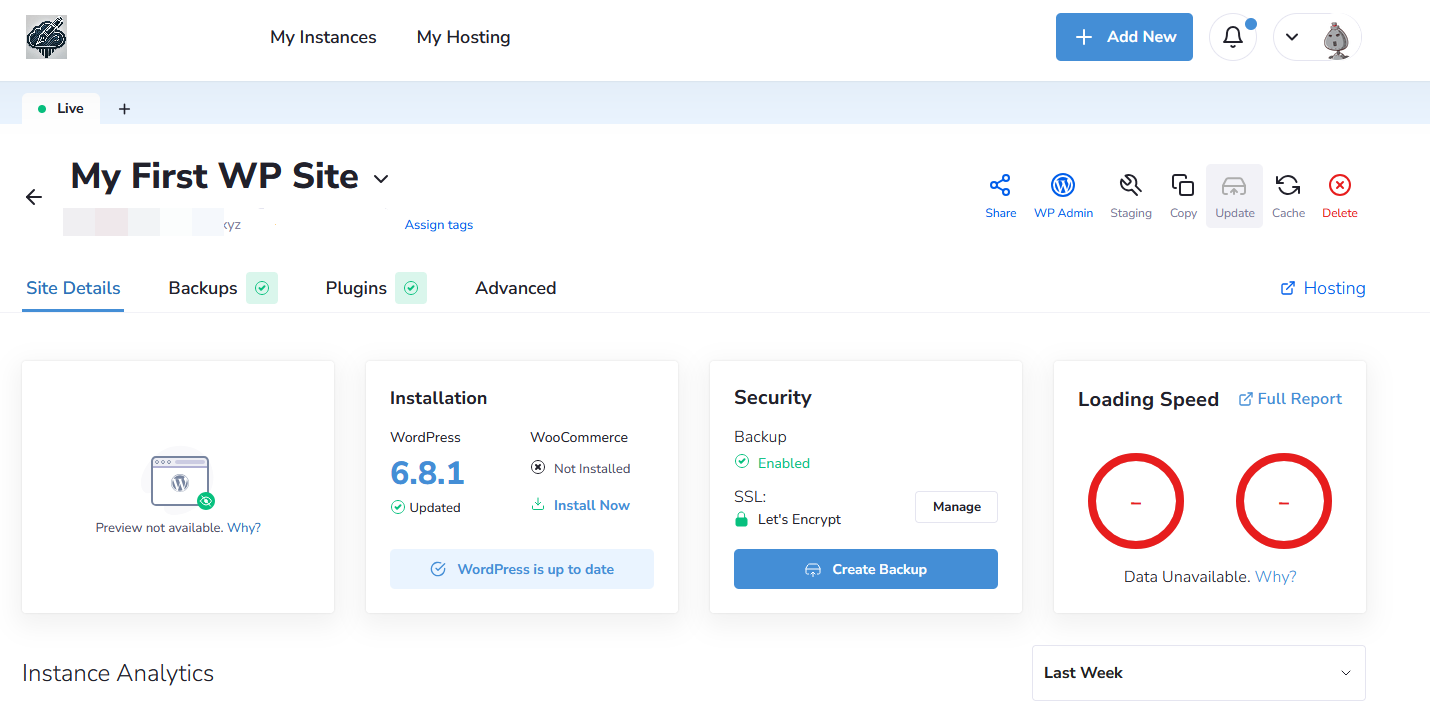
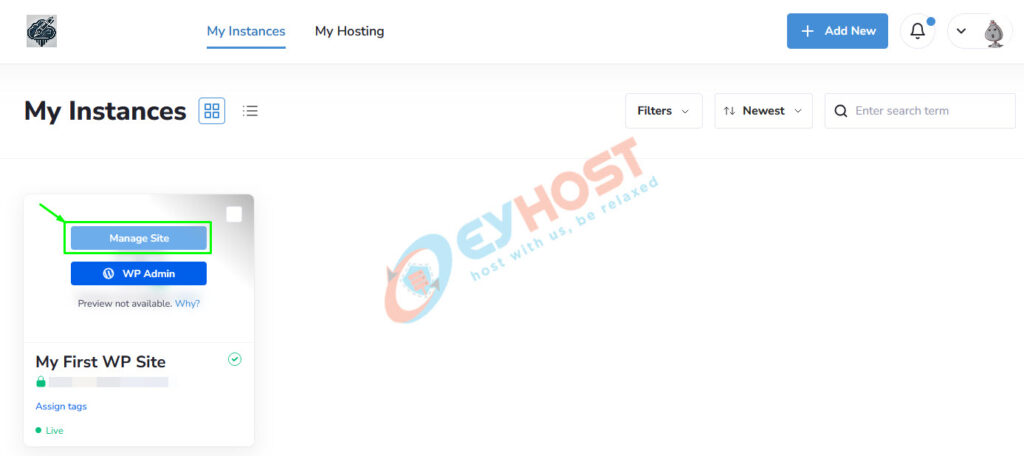
From your hosting Dashboard, navigate to the “My Instance” section where your newly created WordPress site is listed. Hover over your instance and click on the “Manage Site” button at the top.
This will open your site management panel, giving you access to tools for managing WordPress-specific settings to customize and control your website.
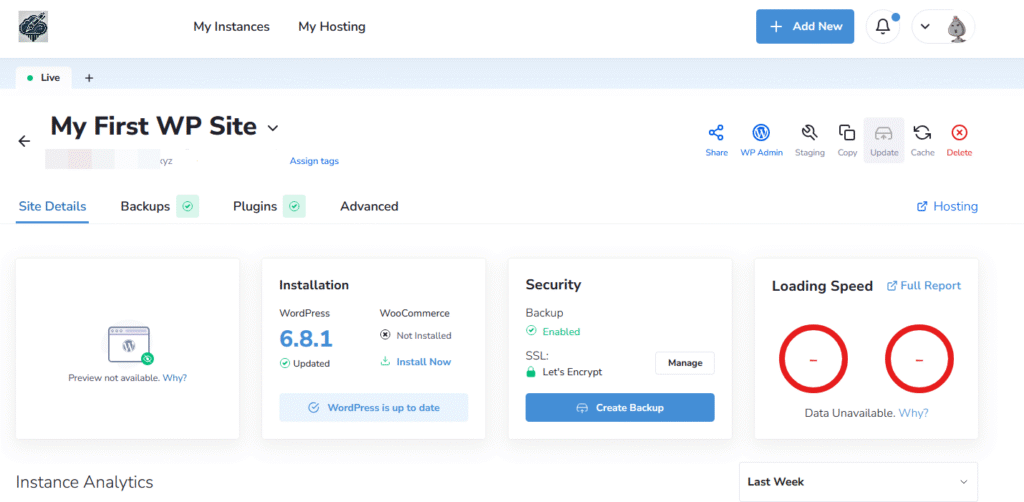
Step 5:
Once inside the site management panel, you’ll see all the general information related to your WordPress instance from there you can manage them accordingly as per your preference.