Effectively managing your WordPress instances is crucial for maintaining optimal website performance and organization. The “My Instances” section within the WordPress Hosting client area provides a comprehensive dashboard, enabling users to oversee all their websites efficiently. This centralized platform offers customizable views, filtering options, and tagging features, streamlining the management of multiple WordPress sites. Such tools are essential for businesses and developers aiming to enhance their workflow and ensure seamless website operations
After logging into the client area of WordPress Hosting, clients are presented with a dashboard containing all their instances, provided they have installed at least one. The “My Instances” section encompasses all existing instances, including those currently being installed or experiencing installation failures.

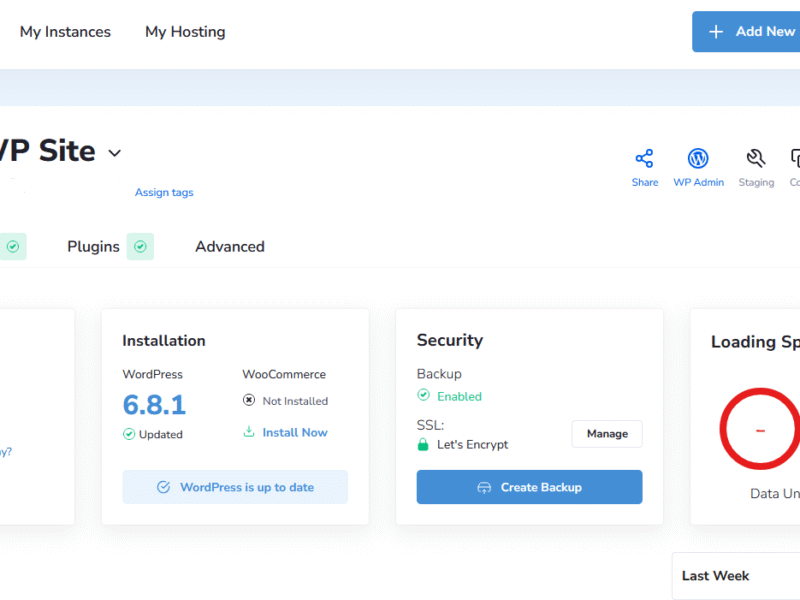
My Instances
- View Modes: Change the view mode to either display instances in a list format or showcase them in tiles with a clear preview of the website.
- Select Instances: Mark one or more instances to perform the following actions:
- Clear cache
- Share instances
- Remove selected instances
- Filtering Options: Filter instances by tag. You can also click on a tag directly to enable automatic filtering.
- Sort Instances: Sort instances based on your preferences:
- By title
- By visitors
- By bandwidth
- By storage
- From the newest
Tags
Users have the flexibility to create their own customized set of tags, enhancing the functionality of their client area and facilitating the efficient filtering of numerous instances dedicated to different fields. To begin creating your tags:
- Click on “Assign Tags.”
- Press “Add New” to create a new tag.
- Enter the tag name, choose a color for association, and click the “Create & Assign” button to automatically generate a new tag and assign it to the instance.
You can later remove the tag from this instance if needed.
Once your set of tags is prepared, feel free to assign them to your instances. This can be done even after the instance is installed and visible on the dashboard.